How to add a Project
You can create your project in two ways: on the web or in the mobile app .
Project fields explained
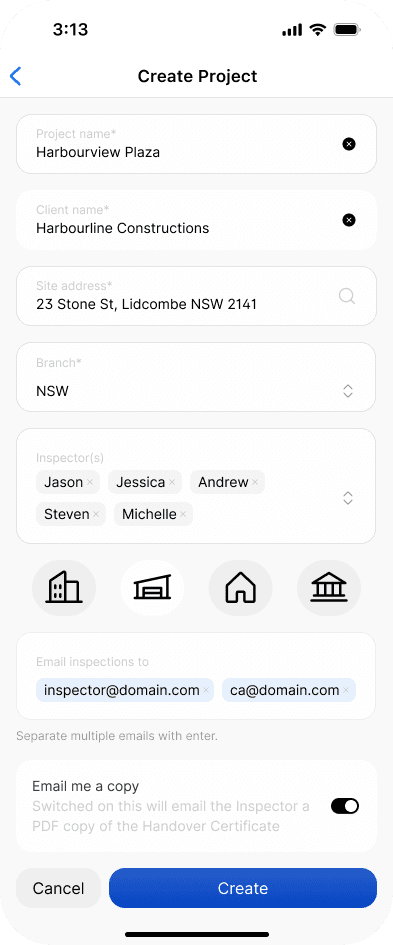
When adding a project, you’ll be asked to complete the following fields.
| Field | Meaning |
|---|---|
| Project name | The name used to identify the project in Scafflinq. |
| Customer name | The customer, builder, or organisation associated with the project. |
| Customer contact number | The contact number for the customer, builder, or organisation associated with the project. This is useful when exporting reports to Excel. |
| Customer email | The email address for the customer, builder, or organisation associated with the project. This is useful when exporting reports to Excel. |
| Site address | The site or location where the project work is taking place. |
| Branch | The branch this project belongs to, if you’re using branches. |
| Inspectors | One or more inspectors who should have access to this project. |
| Project icon | The icon used to identify the project throughout Scafflinq. |
| Email inspections to | One or more email addresses that inspection certificates should be sent to for this project. These can include back-office staff, customer contacts, builder contacts, or other relevant recipients. |
| Email a copy | If enabled, the inspector conducting the inspection will always receive a copy of the certificate. |
Adding a project on the web
1Login to your Scafflinq account at https://app.scafflinq.com/ and navigate to
Projects & Scaffolds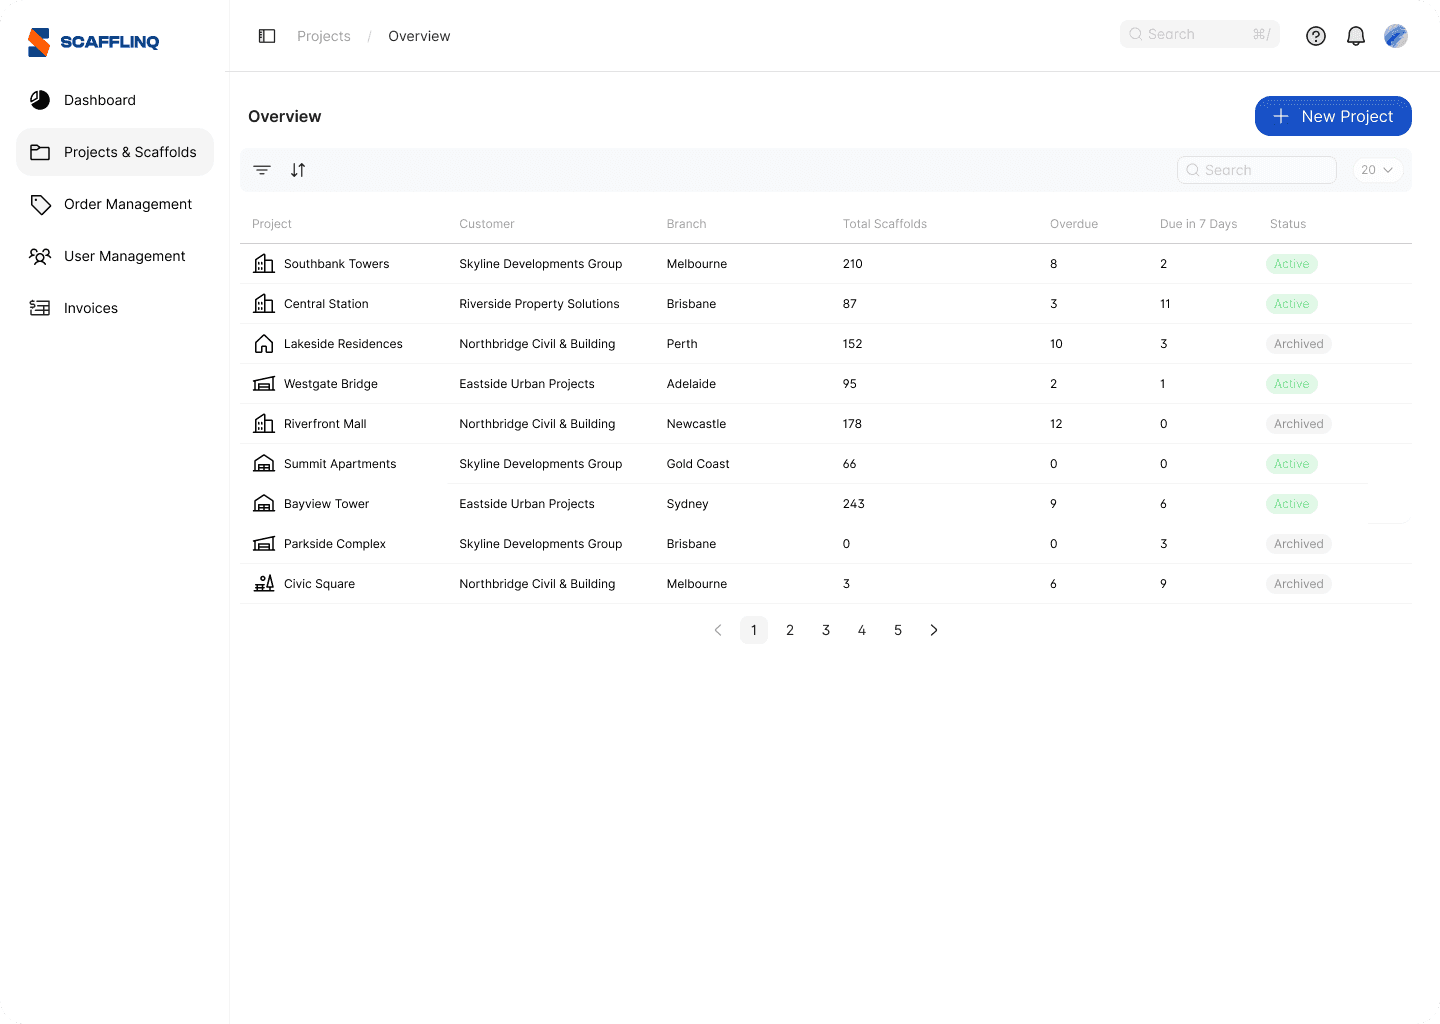
2Click on the
+ New Project button in the top right corner and fill out the form.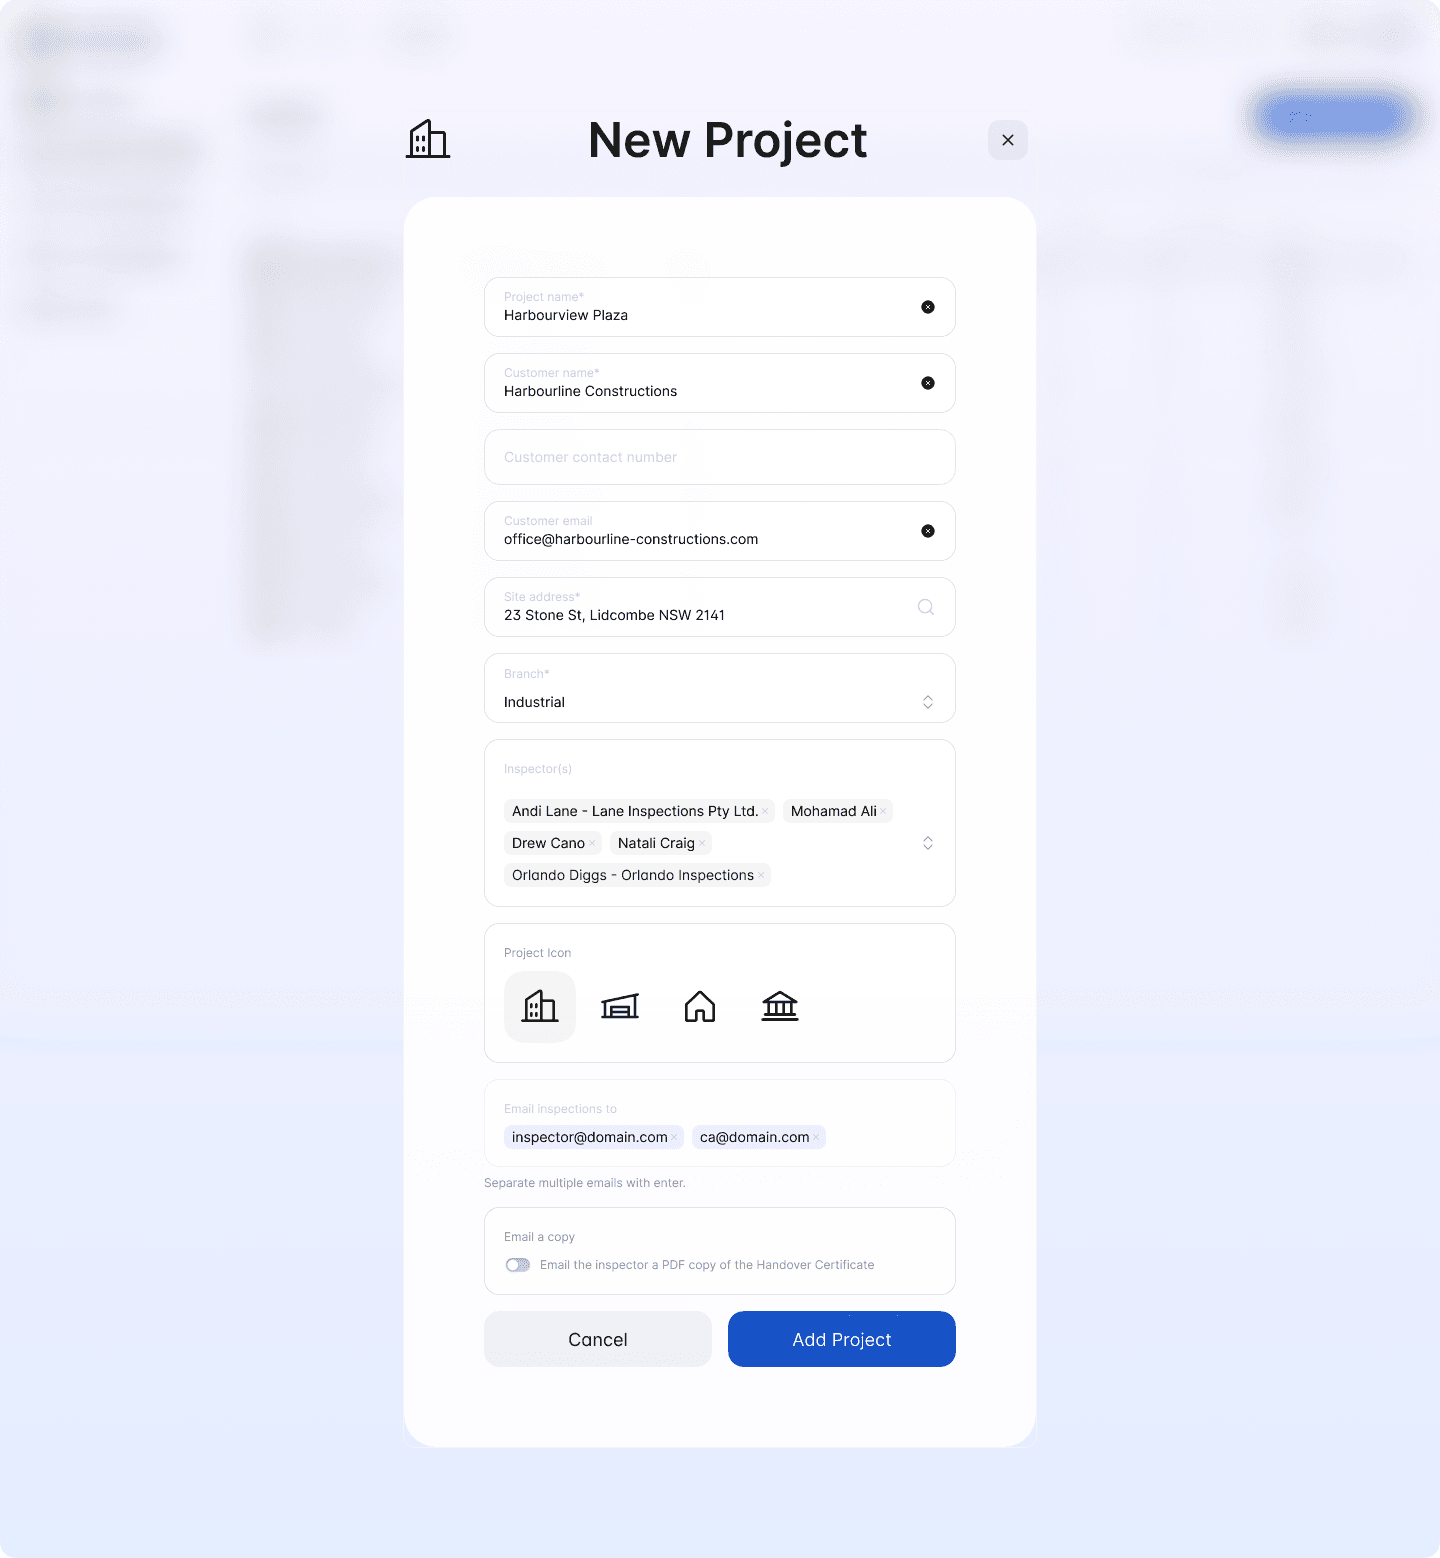
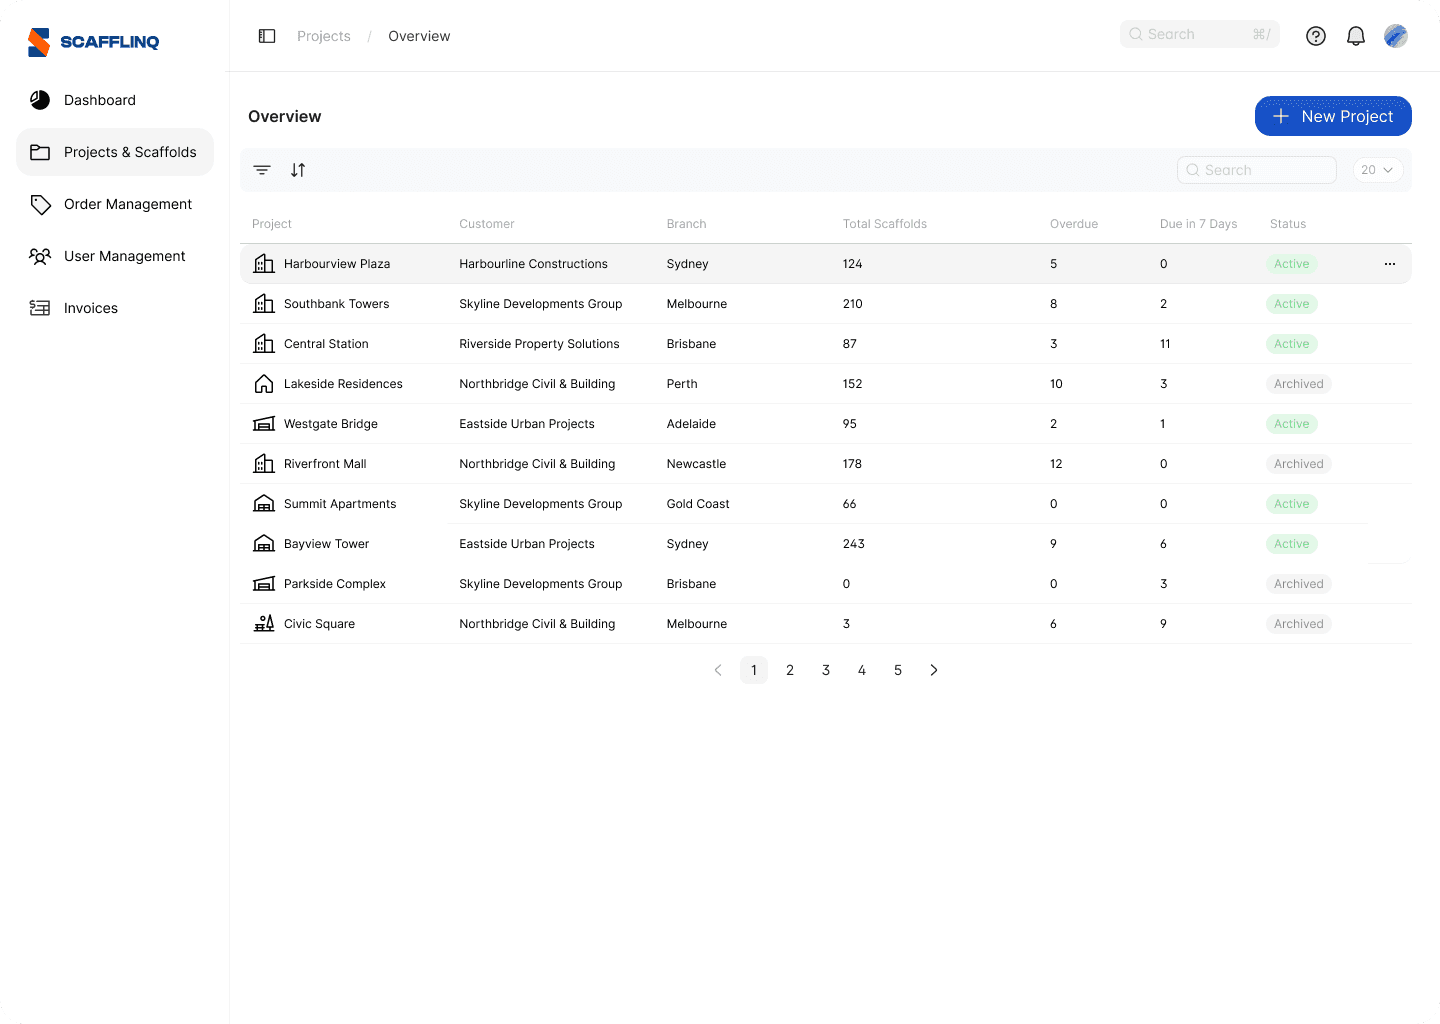
3Your new Project will be added and can be seen in the Project list
Adding a project in the mobile app
1Login to the Mobile App and Tap Projects in the bottom menu
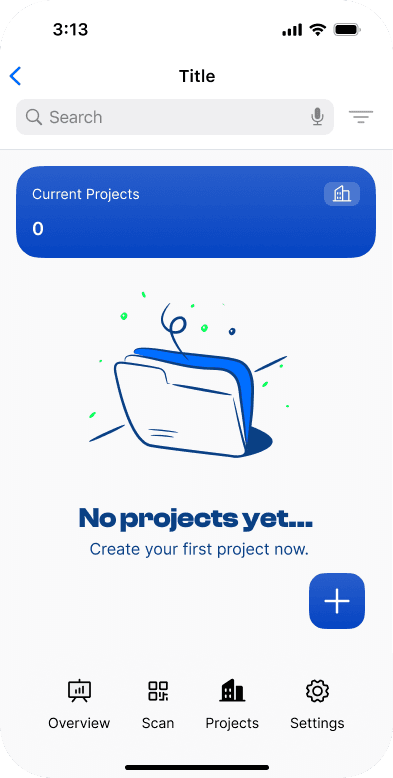
2Fill in the Project details and Tap Create
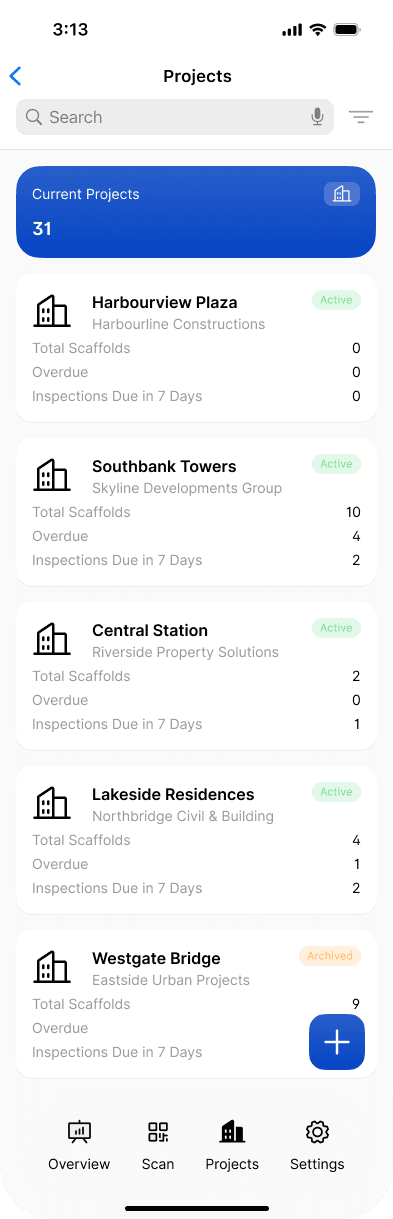
3Your new Project will be added and can be seen in the Project list
Still got questions?
Pick whichever suits, we’ll get back to you either way.